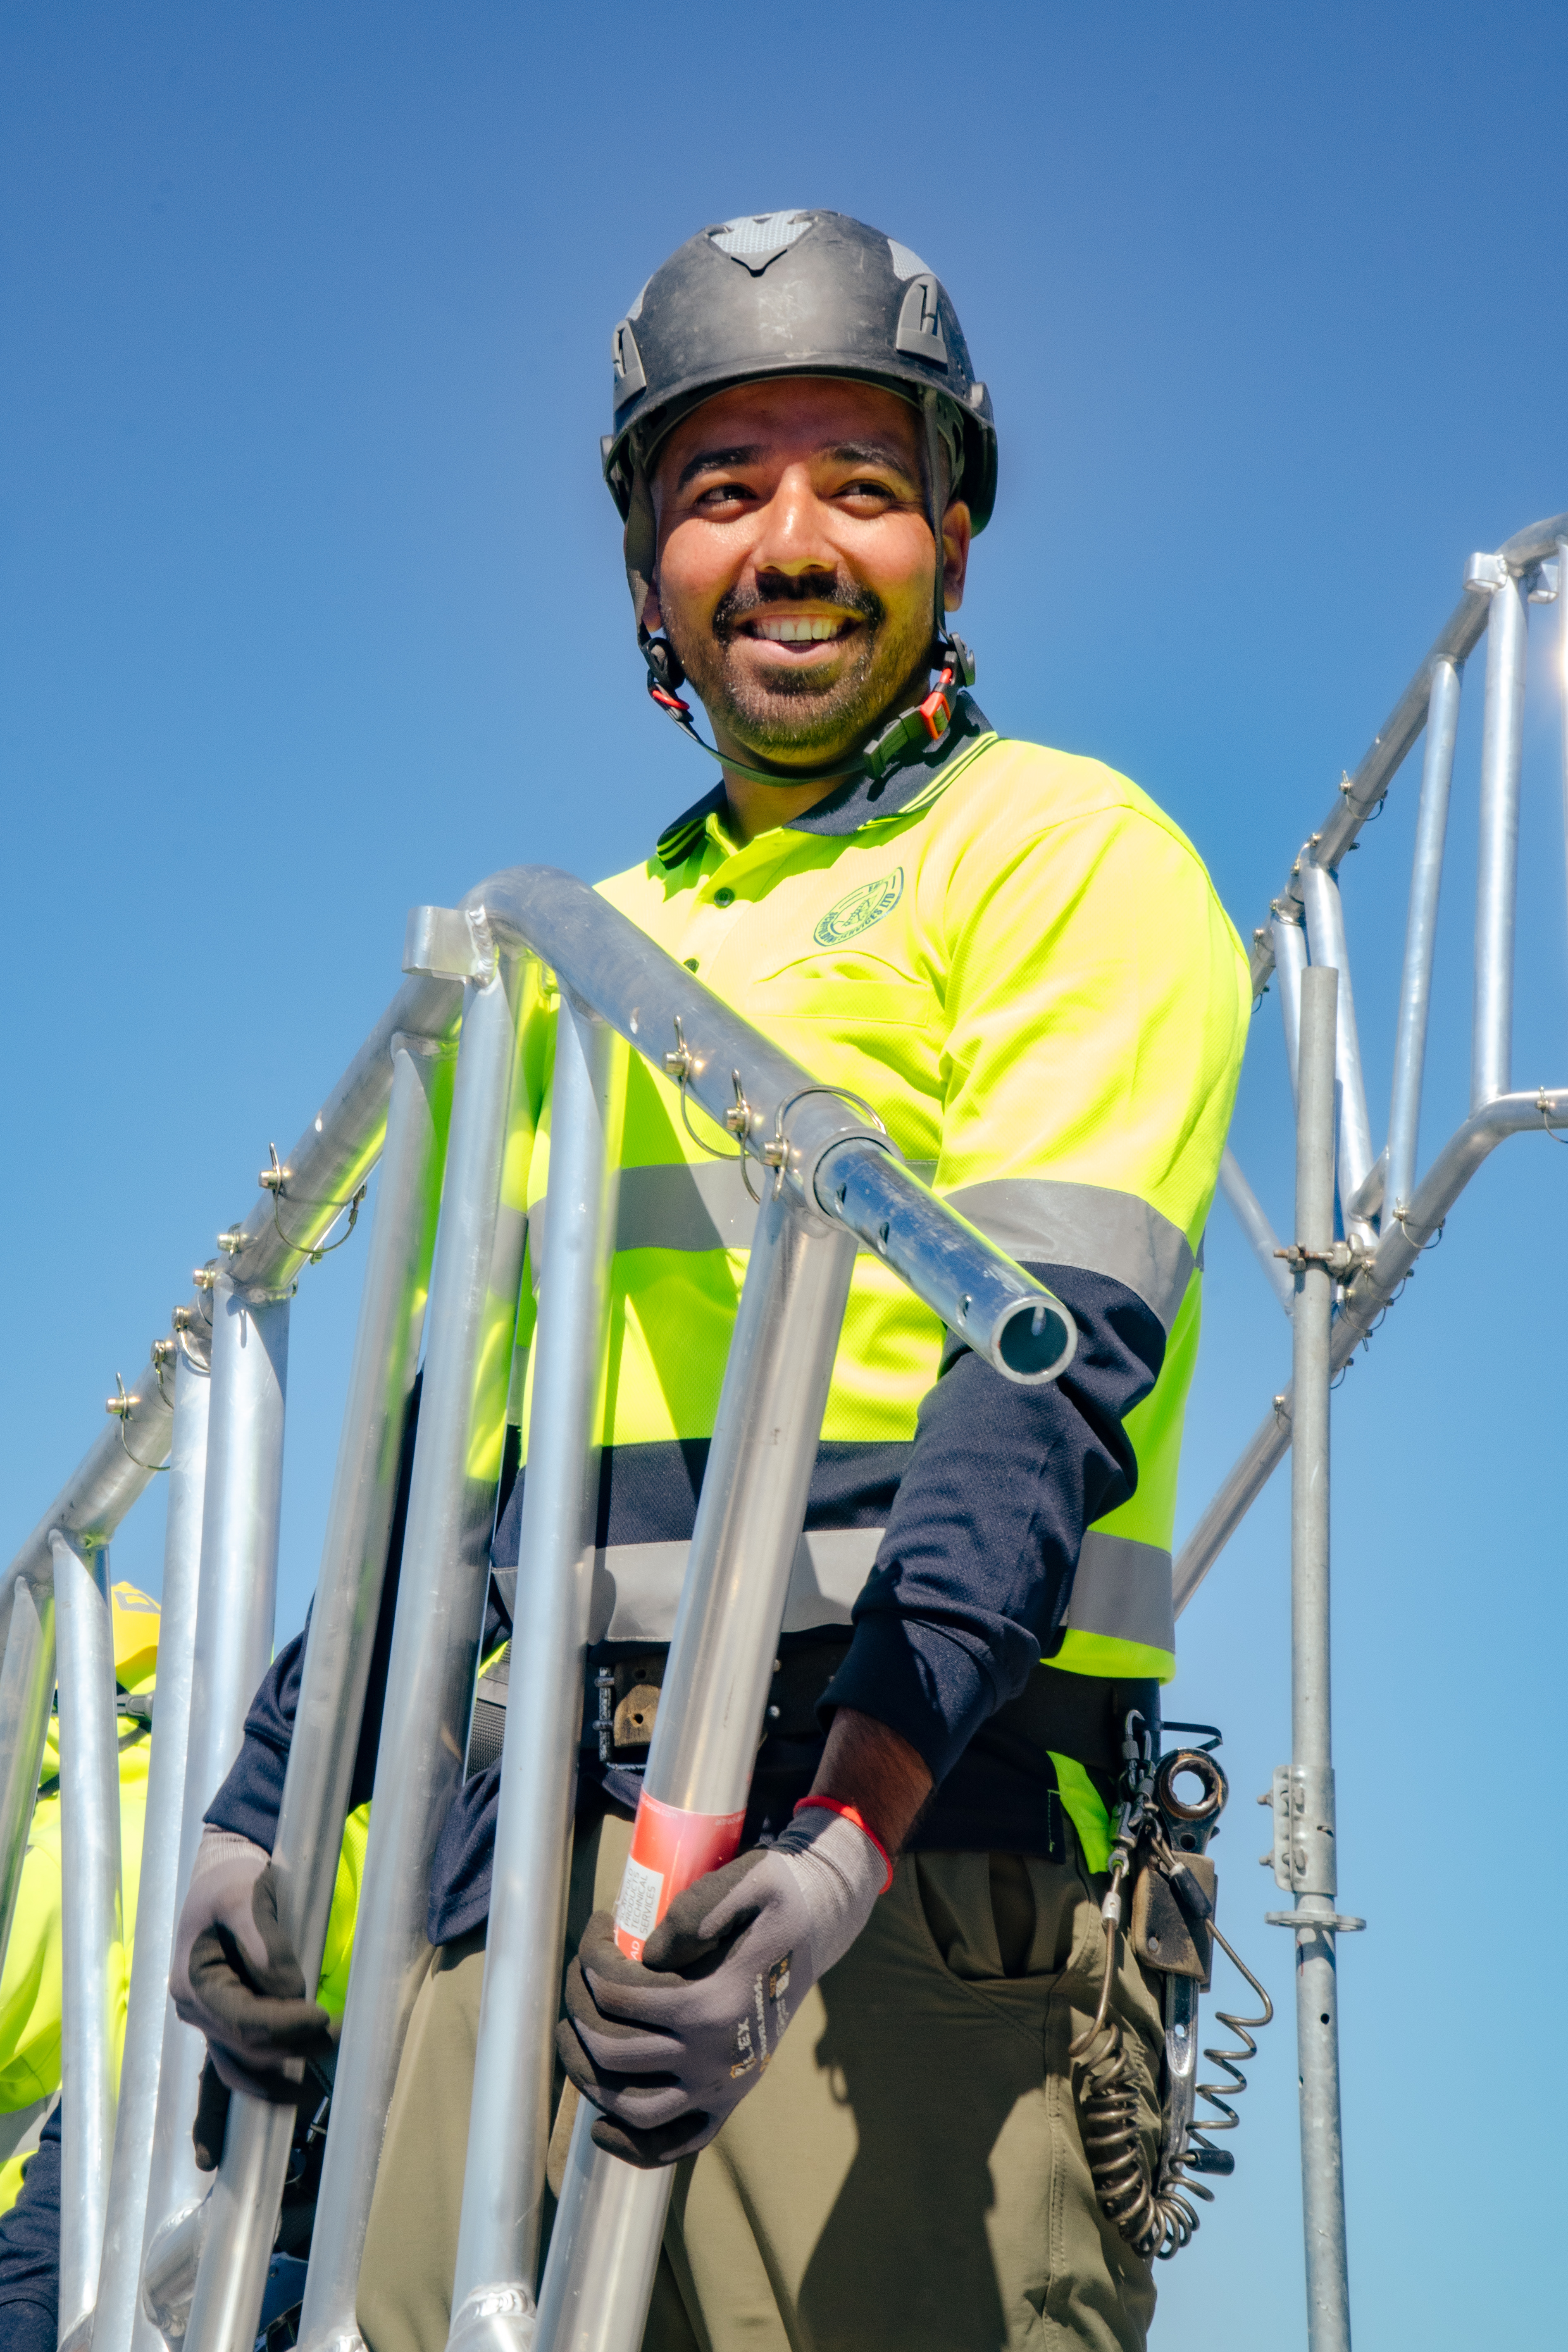
A clear delivery route and an agreed work area help a scaffold crew prepare for installation. For Lower Hutt homeowners and builders, a little preparation can also reduce disruption to driveways, gardens and everyday access while exterior work is taking place.
This article covers preparing the outside of your property, rather than choosing a scaffold design. For local services and project information, see Scaffolding Lower Hutt.
Walk the route from the unloading point
Start at the place where the scaffold crew is expected to unload. Follow the route to each elevation requiring access, noting gates, narrow side paths, steps and changes in ground level. Share photos of the whole route, not only the wall being worked on.
Discuss where equipment can be placed during installation without blocking residents, vehicles or other trades. Keep the agreed route clear, and tell the provider if a delivery, parked vehicle or other work could restrict it on the day.
Identify garden features and surfaces that need attention
Point out garden beds, irrigation lines, drains, paving, ornaments and fragile finishes near the proposed scaffold. Move portable items where agreed and discuss any surface protection before the crew arrives. Do not trim vegetation or remove structures on the assumption that a particular layout has already been approved.
A lawn, paved area or deck is not automatically a suitable support surface. The provider needs to assess bearing conditions and the scaffold arrangement. Surface protection and structural support are different issues; neither should be assumed from a photograph alone.
Tell the provider about recent ground changes
Flag recent drainage work, filled trenches, excavations, soft ground and retaining structures. If another contractor will dig or alter ground near the scaffold during hire, raise that before installation.
Rain and construction activity can change site conditions. Keep the scaffold provider informed about changes, and seek assessment rather than trying to level, move or adjust the scaffold yourself.
Agree which household routes must stay usable
List the doors, garage access, bins, washing areas and paths that occupants need. Explain whether children, pets or people with limited mobility will be on site so the project team can discuss suitable access and separation arrangements.
Where scaffolding is near a shared driveway or public path, identify who needs to be involved in access planning. Do not assume that a clear route on installation day will remain clear once painting equipment, roofing materials and other contractors arrive.
Coordinate the working area with your trades
Before confirming the layout, explain what the painters, roofers or builders need to reach. Share the intended work sequence and any proposed storage areas. Working platforms are not general storage space: loads and use must stay within the scaffold's assessed limits and handover instructions.
Keep one contact responsible for communicating changes. If work expands or another trade needs access, arrange any scaffold alteration through the provider rather than changing components on site.
Prepare for dismantling as well as installation
Avoid placing new landscaping, stacked materials or fixed items across the agreed removal route without discussing it first. Tell the provider when exterior work is ready for dismantling and flag anything that has changed since erection.
To begin planning, send your site address, photos, work description and expected timing. Our scaffolding cost calculator provides an initial estimate; the final scope depends on the site assessment.
For help arranging access for your project, visit Erect It's Scaffolding Lower Hutt page.
Need scaffolding for your project?
Get a free, no-obligation quote from Greater Wellington's SiteWise Gold 2026/27 certified scaffolding specialists.